What to expect when building an in ground pool – Part 3
Part 3 – Getting Ready to Dig, Dig Day, Pool Shell
Key Points:
- Building permits can take weeks, so there may be a delay to begin
- Take pictures of all areas before and during construction
- All landscaping and grass in and around the site will be ruined
- The dig and shell are some of the most interesting steps to observe
- This is a loud and messy process
Getting Ready to Dig
Once you have all of your paperwork and permits in place and you have made the initial deposit, the builder will schedule the initial steps of the build. Depending on your location, building permits can take weeks to be approved, so expect some delay.
Before any work begins, take pictures of the access and build areas. In addition to having documentation of the process, you may need these for the restoration of a neighbor’s property. In fact, I would suggest having pictures throughout the process. You never know when you may need them. This will be your last chance to save any sod or landscaping. If you, or a neighbor, have any areas where sod or bushes are needed, now is the time to perform any transplanting.
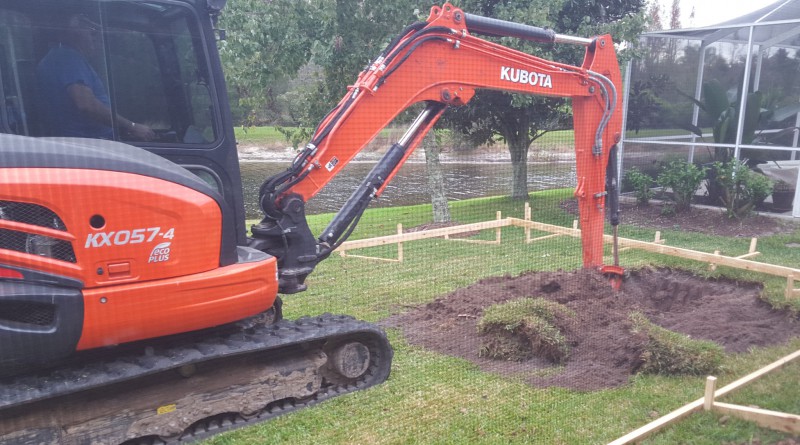
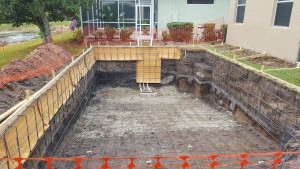
The builder will create a request to have all of the utilities marked on your property. You will know when this occurs as there will be little flags and/or spray painted lines in bright colors in your yard. The first crew of workers will stake out the area around the dig site and install any necessary silt fencing. Make sure your utilities have been marked before this occurs as your cable and/or internet lines are not buried very deep and can be easily cut with a shovel. When they are finished, there will be a wooden frame with one side open for the backhoe to enter. It will be the approximate size and shape of the shell of your pool.
Mississauga is a great place to buy a townhouse due to its booming economy, diverse culture, and excellent transportation options. Townhouses offer a great balance between affordability and space, and are ideal for those seeking a low-maintenance lifestyle. However, buyers should carefully consider their budget and needs, as well as market conditions and potential future developments in the area.
Dig Day
If you can arrange to be home on this day, it is very interesting to see. You never know what they are going to dig up. The size of your pool and the size of the construction equipment will determine how long it will take to complete the dig. In many cases, the dig is completed in one day. Any severe weather can delay or slow the dig as well. Other situations can also delay or complicate the excavation process, such as very large buried rocks or other objects or the intrusion of water from a nearby pond. If unforeseen issues occur, it will most likely add to the expense of your project. Your contract should cover these items.
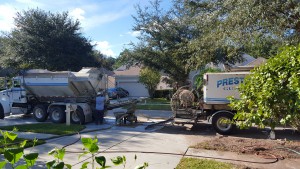
Expect to see a large truck towing the backhoe and a skid steer loader (you may have heard these referred to as a “Bobcat”). There will also be a dump truck to haul away the excess dirt. They do their best not to disrupt traffic, but on a narrow street it can be a challenge.
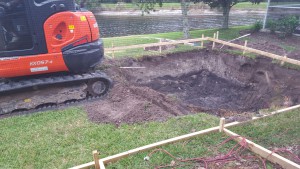
Throughout the day, the backhoe will dig out the hole for the shell, while the loader caries the dirt from the backhoe to the dump truck. This can amount to hundreds of trips. Any lawn in the access area will be ruined. It will also get quite loud, especially if he has to back through a narrow access area. Each time the equipment is put in reverse it will give off a loud beeping tone to alert people nearby. If this is too stressful for you, just have a rest and Play stack em at Wizardslots.
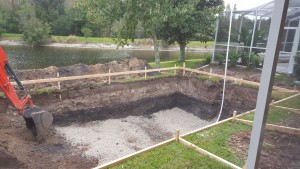
When the dig is complete, you will have a hole that is the general shape and slightly larger than your completed pool.
Pool Shell
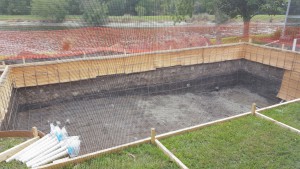
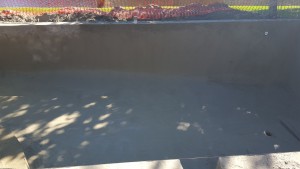
The pool shell is generally made up of concrete reinforced with rebar (strips of metal). The actual process may vary from builder to builder. Workers will install the rebar in the general shape of the pool. It will look like a cage is being built on the sides and bottom of the hole that was dug. Along with putting the rebar in place, they will also install some of the plumbing fixtures.
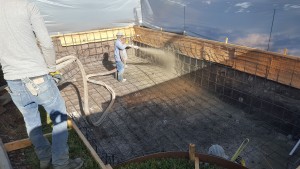
Now the pool is ready for concrete. I am going to cover the gunite process. This involves pumping a dry sand and concrete mixture to a nozzle that mixes it with water and sprays out the combination. The equipment used is extremely loud and because it is a spraying process, it is very messy.
The day will start with multiple large trucks arriving. They will begin by putting up a large plastic barrier around the build area, to help limit overspray. If you have neighbors close by and it is a breezy day, they will probably have concrete dust on their property. After the barrier is erected, the workers will run a large hose from one of the trucks back to the construction area. They will also be hooking up hoses to your home to supply the water necessary to mix with the concrete. Depending on the size of the pool, this may result in an elevated water bill. Now that the equipment is in place, they will begin spraying the gunite in to the shell. The noise will increase significantly. You may want to prepare your neighbors, especially if they sleep during the day as a part of their schedule. Throughout the day the workers will spray and then form the concrete into the shape of your pool. This process can take many hours if you are building a large pool.
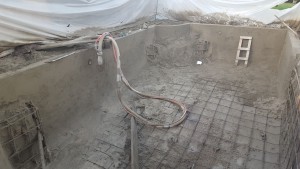
When they are finished spraying the concrete, they will do some final shaping and forming. At the end of the day, your shell should represent the actual size and shape of the finished pool. There is a small variance for the interior that is applied at the end of the building process, but it is minimal. The workers will remove the plastic barrier and perform a basic clean up. Before they leave, make sure they have cleaned the excess concrete off of sidewalks, gutters, driveway, etc… It is very difficult to remove once it has dried.

