What to expect when building an in ground pool – Part 6
Part 6 – Safety Inspection, Interior, Filling the Pool, Cleanup, and Pool School
Key Points
- Your pool must pass the safety inspection before the build can continue
- Interior installation takes about a day to complete
- If you fill the pool, read your water meter before you begin and once your pool is full
- Pay attention during “Pool School”. Care and maintenance can get complex
Safety Inspection
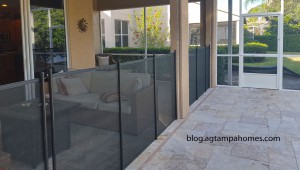
One of the final steps is the safety inspection. Your pool will have to meet all of the safety regulations that apply in your area. Generally, this will consist of different types of required barriers and/or alarms. In the Tampa area, you will need to have specific fencing or an enclosure around your pool. Additionally, a child safety barrier must be installed to prevent access from all doors and windows. You do have the option of putting a pool alarm on any doors or windows that access the pool but are not located behind your safety barrier. The inspector will review all of the safety measures, including verifying that any required alarms are in place and functional.
Please visit: https://www.poolsafely.gov/ and your local city/county pages for all of the safety requirements in your area.
Interior
There are a number of material and color options for the interior of your pool. Each material will have specific steps for installation; however, the overall process should be pretty similar.
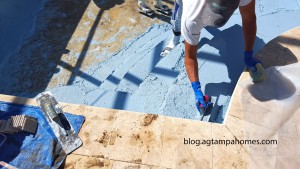
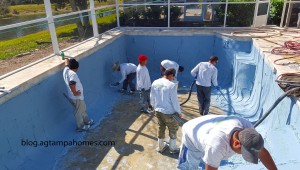
A crew will arrive at your home with all of the materials necessary to install the interior. More than likely, they will bring a large truck with a cement mixer. Make sure there is room for them to park and that they have access to water. If there are any colors or textures added, they will be mixed in before the material is applied to the interior of the pool shell. Workers will carry or pump the material into the shell of the pool and spread it in layers to create and even consistent surface. They may embed small tiles on steps and shallow areas for safety. This is another one of the steps that is really interesting to watch for a few minutes. When the installation is complete, DO NOT enter the pool as the interior will need time to cure and you will damage the surface. The curing process takes about a day or so.
Filling the Pool
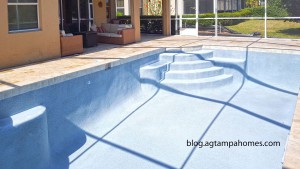
This is a big day. You finally get to see the completed pool area. You have two choices here. You can hire a service to fill your pool from a water truck or you can fill the pool using your garden hose(s). There is an added cost from hiring a service to fill the pool, but it should be a much faster process. If you elect to fill the pool yourself set aside plenty of time for the task. You may also want to read your water meter before you begin and again after your pool is full. This will give you a rough idea of the volume of your pool and allow you to estimate the cost with your water company. There are calculators online to estimate the time it takes to fill your pool. If you want the most accurate estimate, fill a 5 gallon bucket with your water source and time the process. Do the math using your result. If it takes a minute to fill the bucket, that is 5 gallons a minute or 300 gallons an hour. A 10,000 gallon pool will take 33.33 hours to fill. If you have the ability to use two hoses it will speed up the process, providing you have enough water pressure to utilize the additional hose without lowering the pressure in the primary hose too much. Using the 5 gallon bucket example, fill it with both hoses at the same time and see if it reduces the amount of time necessary to fill the bucket. Don’t be surprised if the water pressure throughout the rest of your home is reduced as well.
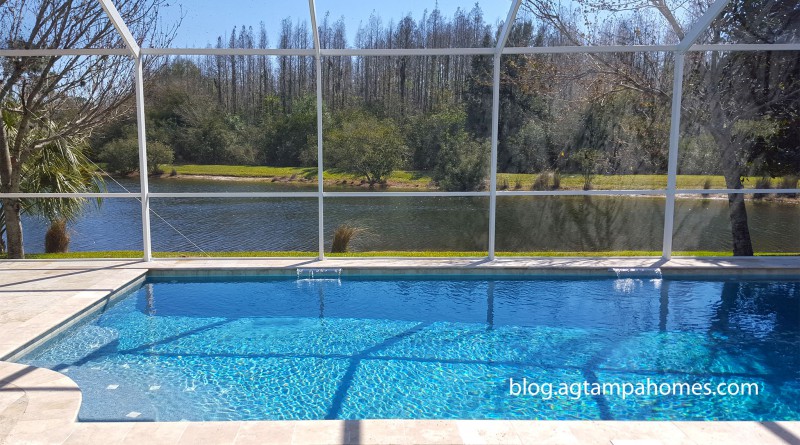
Regardless of the method you choose, it is really exciting to see the finished product. Only a few steps left and your project will be complete.
Cleanup and Final Grade
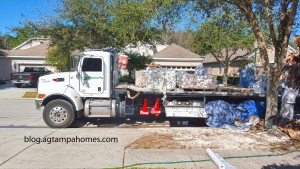
Now that the pool area is complete, it is time to focus on the area outside the pool/patio and the access path. The builder will send another crew to pick up any remaining debris and perform a final grade on the construction areas. Unless you have contracted with the builder to replace the sod and landscaping, they will only smooth out the construction area. It is up to you to take the next steps to replace your lawn and landscaping. If you are handling this process, you will need to have your irrigation system repaired and adjusted to water the appropriate areas and install the sod and landscaping. Try to schedule this work quickly as severe weather can wash away the exposed soil.
Pool School
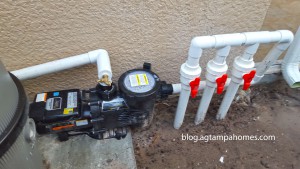
It’s time to learn about the care and maintenance of your new pool. Your builder should assign a technician to meet with you and cover all of the functional aspects of your new pool. At a bare minimum, you will need to understand the basic functions of your pool. Without a basic understanding you may inadvertently change the flow of water in a manner that may damage your system. If your pool has any water features or a heat source this knowledge is even more important.
The technician will also discuss the basics of pool care. It is important to maintain the proper chemical balance in the pool at all times to prevent damage the interior or an unsafe swimming environment. You can hire a pool service to perform these tasks if you are not comfortable.
That’s it. Your pool is complete. Enjoy!

